# Quick Start Guide For Radio Bridge Sensors
To get started with a sensor from Radio Bridge, follow these steps:
Go to https://console.radiobridge.com (opens new window) and register for a new account
Once you are logged into the Console, click on the Devices tab and click the button “Add New Device”
Follow the prompts to enter your sensor information
a. Select the wireless network you wish to run the device on
b. Enter the Device EUI, Device Name, App Key, and Device Type. The Device name is a name of your choice, and the other three can be found on the product box or plastic sensor enclosure.
c. Review the summary including any applicable charges and click the Confirm button.
Wait for the device registration to complete. This may take a few minutes and you can hit refresh in your browser to review the current status. When the Status indicates “Active”, your device is ready to use.
Verify wireless network connectivity. For public networks it is assumed you are within range of a tower and nothing more is required. If you are provisioning your own LoRaWAN gateway, please refer to the document “How to Connect LoRaWAN Sensors” located on the Radio Bridge website.
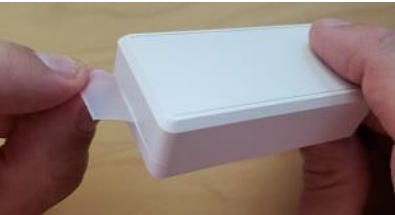
Pull the plastic tab out of the sensor to connect the battery.

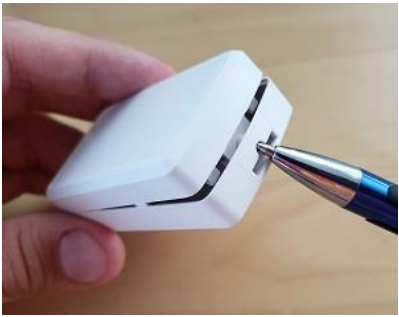
If the tab does not pull out easily, you may need to open the case to remove it.
Also, if you have already pulled the plastic tab prior to this step, you may need to open the plastic case and re-insert the battery.

By re-inserting the battery, the device is reset, and the reset message can be viewed on the console.
Click on the Device EUI that you just added, and you should see a reset message appear in the message log.
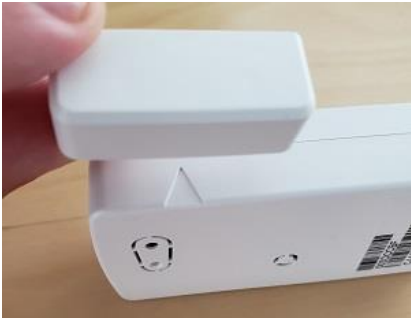
Try sending a test message by applying the magnet to the side of the sensor with the triangular notch.

When the magnet is placed near the notch, the sensor will send a test message that can be viewed on the console. The message will contain the current state of the sensor
Overview →
